The Essential Kitchen Island Guide: Design, Function, and Style
The kitchen island is the heart of the modern kitchen.
It’s where you prep meals, gather with family, help kids with homework, and entertain guests.
A well-designed island adds counter space, storage, seating, and style all at once.
But a great island doesn’t happen by accident. It takes the right size, layout, and features for how you actually live.
This complete guide walks you through everything you need to plan the perfect kitchen island — from dimensions and clearances to seating, storage, lighting, materials, and cost.
Whether you’re remodeling a kitchen in Fairfax, Loudoun, or anywhere in Northern Virginia, these are the principles our design team uses on every project.

Why a Kitchen Island Is Worth It
An island is one of the most requested features in any kitchen remodel — and for good reason.
It transforms how a kitchen works. Instead of a single run of counters, you get a central hub that opens up the whole space.
Here’s what a well-planned island delivers:
- More counter space for prep, baking, and serving
- Extra storage with cabinets, drawers, and shelves
- Casual seating for quick meals and conversation
- A natural gathering spot for family and guests
- Improved workflow between the sink, stove, and refrigerator
For open-concept homes, the island also defines the kitchen zone while keeping sightlines open to the living and dining areas.
Do You Have Room for a Kitchen Island?
Before falling in love with a design, make sure your kitchen can accommodate an island comfortably.
The golden rule is clearance. You need at least 36 to 42 inches of walkway on all sides of the island.
For kitchens where two people cook at once, aim for 42 to 48 inches of clearance on the main work sides.
As a general guideline, your kitchen should be at least 13 feet wide to fit a standard island with proper clearance. Smaller kitchens aren’t out of luck — they just need a smaller island or a more flexible solution.
Measure your space carefully before committing. Tape out the island footprint on the floor and walk around it to feel the clearances in real life.
Standard Kitchen Island Dimensions
Islands come in many sizes, but a few standard dimensions work well in most homes.
- Minimum size: about 40 inches long by 24 inches deep
- Common size: 3 feet deep by 6 to 7 feet long
- Standard height: 36 inches, matching your countertops
- Bar-height seating: 42 inches for a raised eating ledge
If you plan to add seating, allow 24 inches of width per stool and at least 12 inches of knee clearance underneath the overhang.
Don’t make the island so large that the middle becomes unreachable. If your island is wider than about 48 inches, the center can be hard to clean and use.
Kitchen Island Layout Ideas
The best island layout depends on your kitchen’s shape and how you use it. Here are the most popular configurations.
1. The Prep Island
A simple, clean island focused on workspace. It offers a large surface for cooking and baking, with cabinets or drawers below for storage.
2. The Island with Seating
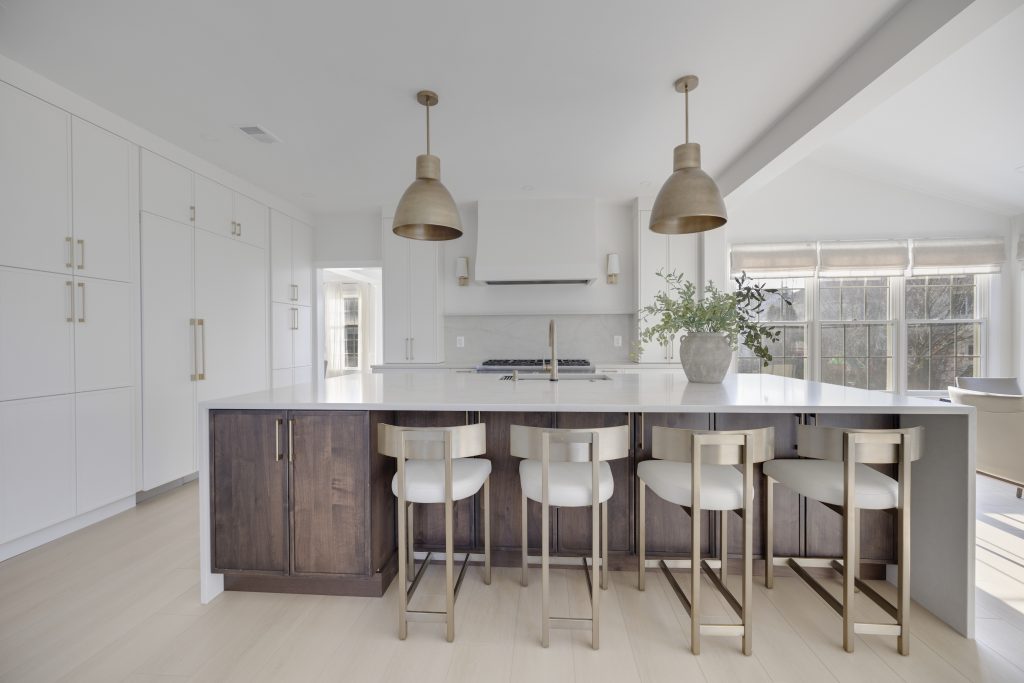
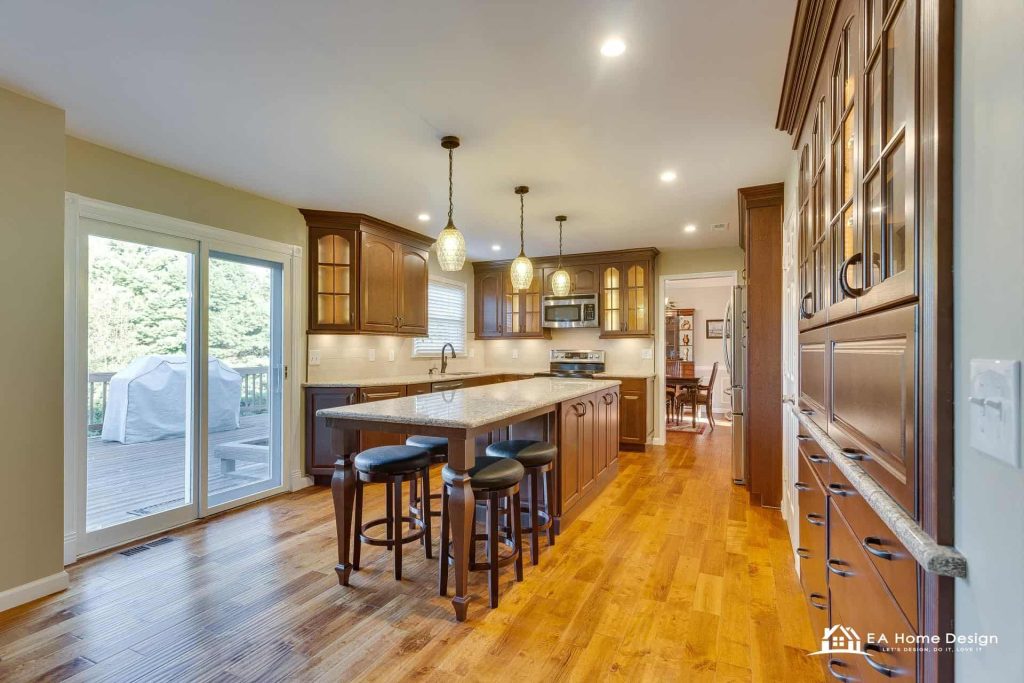
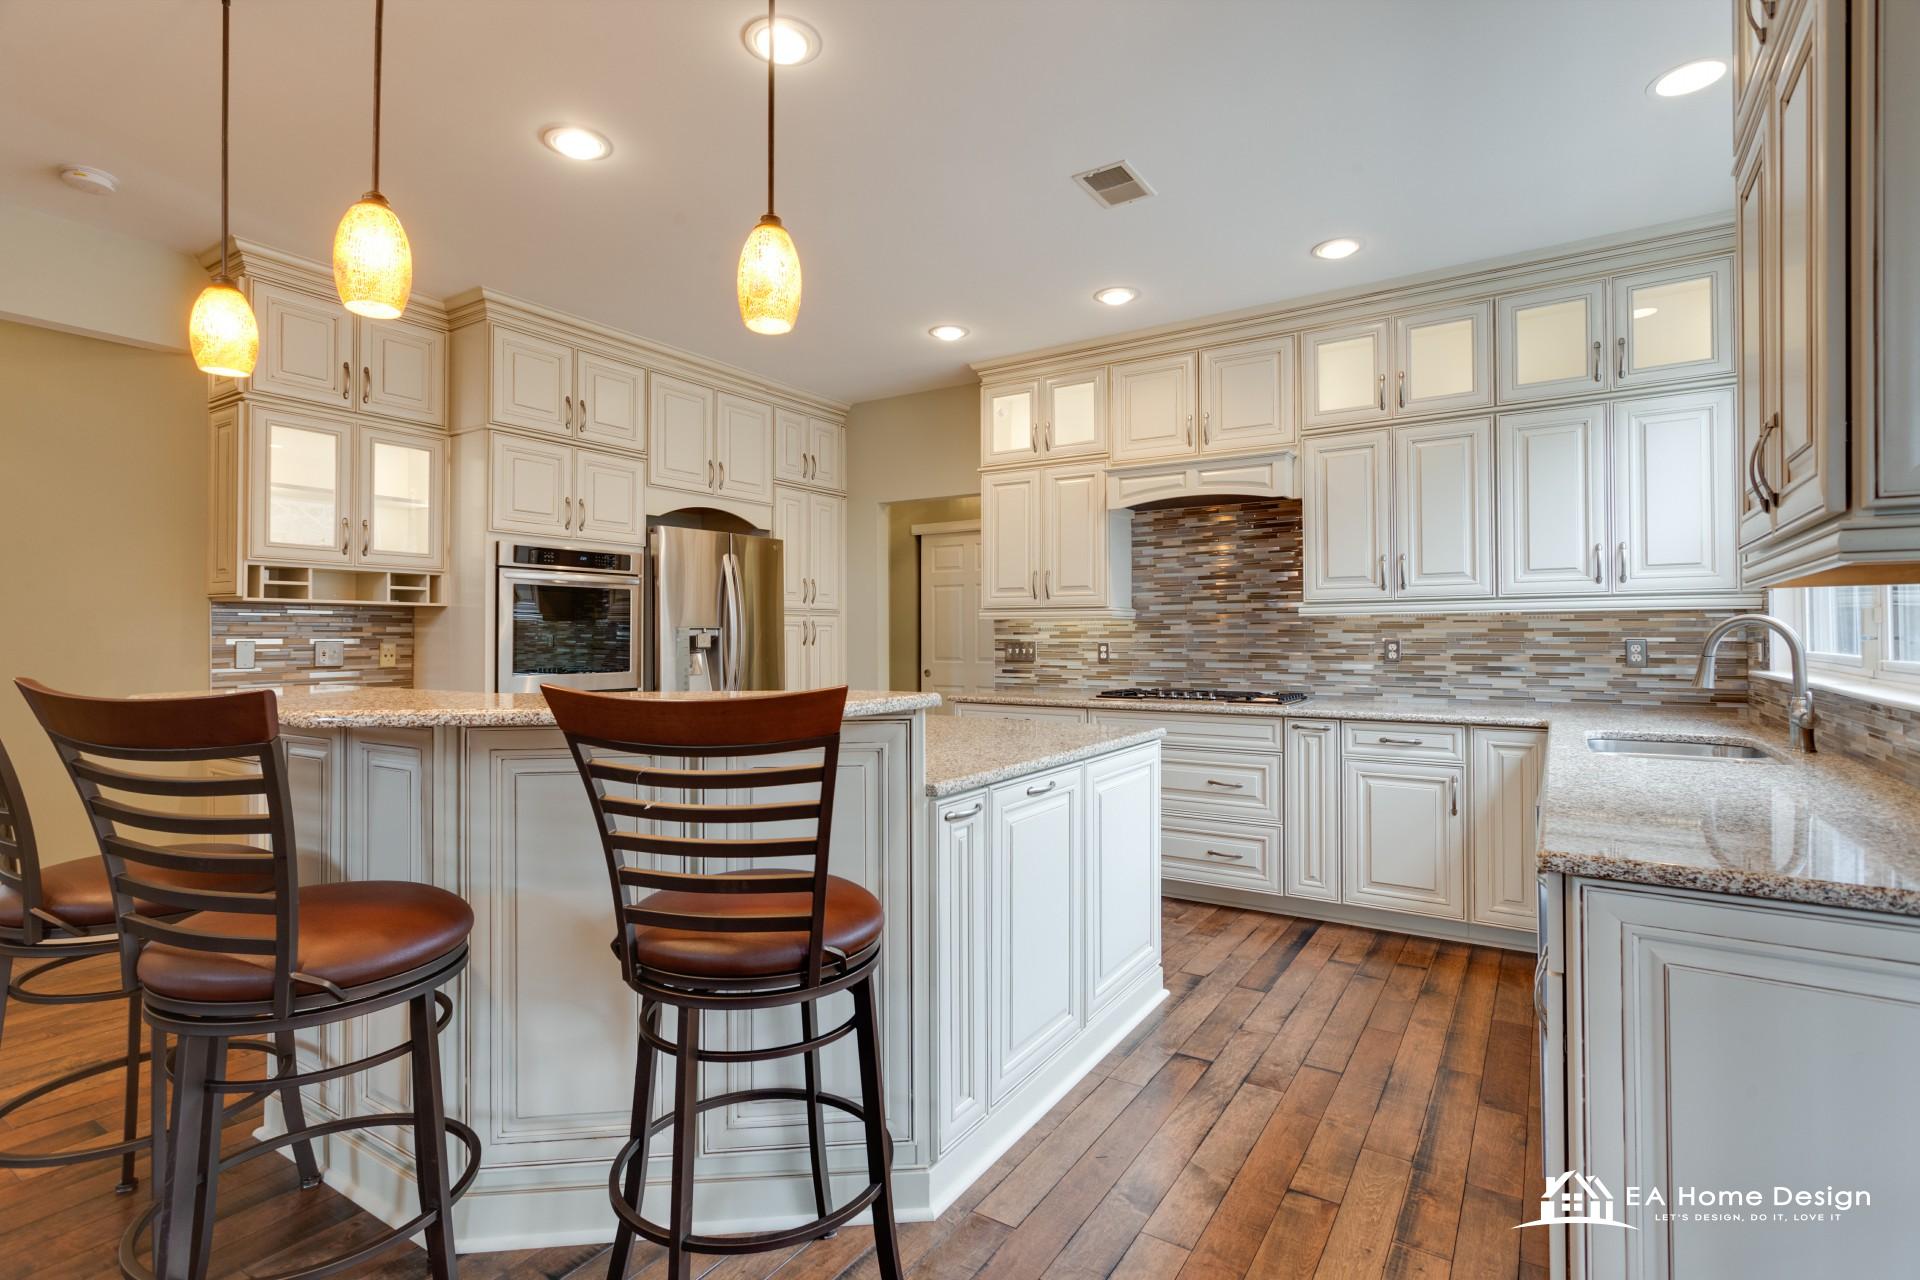
This is the most popular choice today. An overhang on one side creates room for bar stools, turning the island into a casual dining and gathering spot.
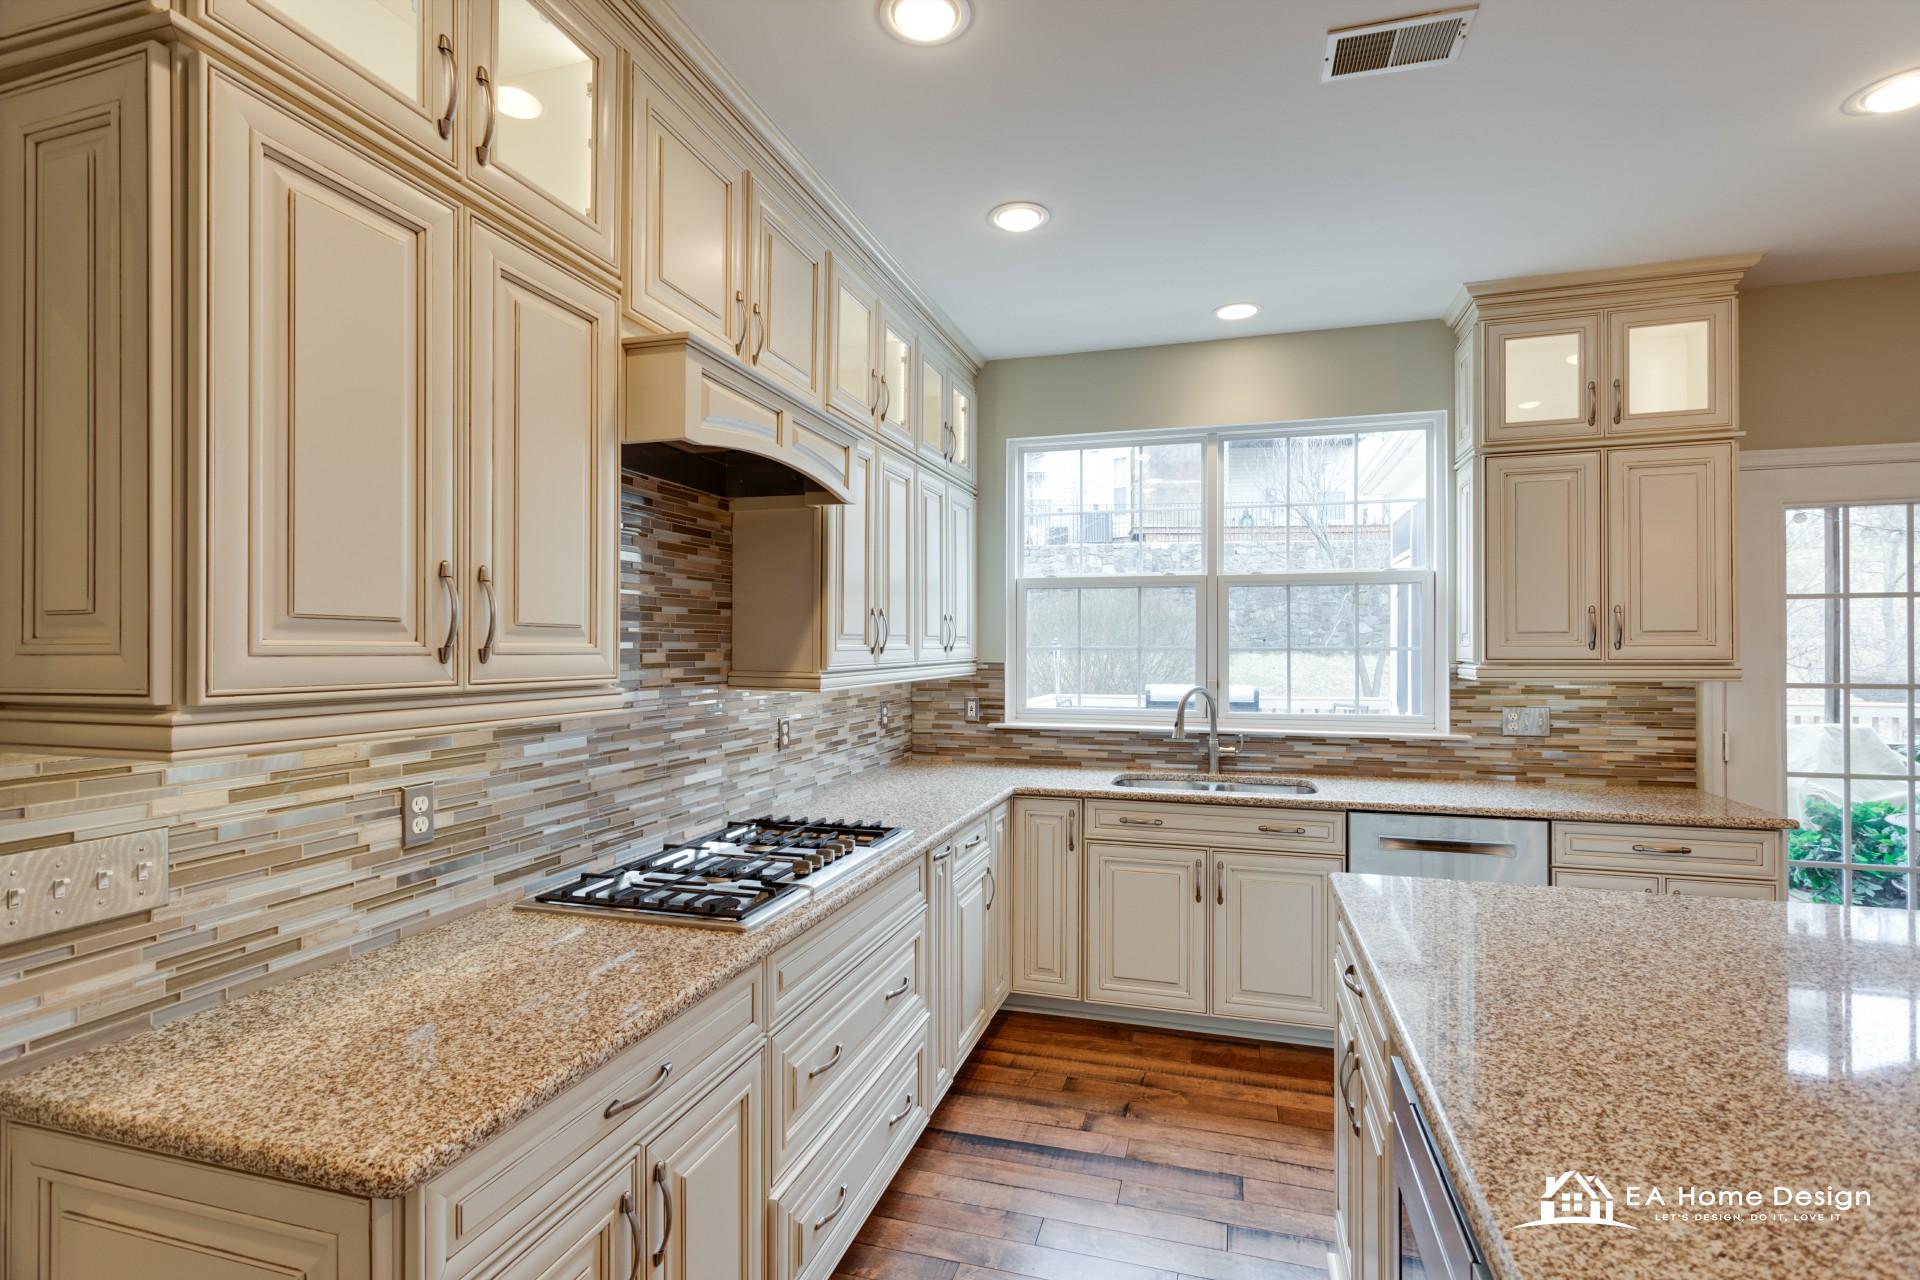
3. The Cooking Island
Built around a cooktop or range, this layout puts the chef at the center of the action. It requires ventilation, so plan for a downdraft or a ceiling-mounted hood.
4. The Sink Island
Relocating the sink to the island lets you face the room while you work. It’s great for entertaining, but remember that moving plumbing adds to the cost.
5. The Double Island
In large, open kitchens, two islands can separate prep from gathering. One handles cooking and cleanup; the other is for seating and serving.
Kitchen Island Seating Options
Seating turns an island from a workstation into a social hub. There are a few ways to do it.
- Single-level overhang: Seating sits at the same 36-inch height as the counter, creating a sleek, modern look.
- Raised bar: A 42-inch ledge hides kitchen clutter from guests and feels more like a bar.
- Waterfall seating: Stools tuck under a continuous stone overhang for a high-end finish.
Plan for the right number of seats. A 6-foot island comfortably seats two to three; an 8-foot island can seat four. Always confirm there’s enough knee room and elbow space between stools.
Storage Ideas for Your Island
One of the biggest benefits of an island is the extra storage it provides. Make every inch count.
- Deep drawers for pots, pans, and mixing bowls
- Pull-out trash and recycling bins to keep them hidden
- Open shelves on the seating side for cookbooks and baskets
- A built-in wine rack or beverage fridge for entertaining
- Charging drawers with built-in outlets for devices
- A microwave or warming drawer tucked neatly out of sight
Think about what clutters your counters today, then design storage that solves it. Custom and semi-custom cabinetry makes these features easy to include.
For more cabinet inspiration, see our fresh kitchen cabinet ideas.
Choosing the Right Countertop for Your Island
The island countertop takes more abuse than almost any surface in your home. Choose a material that’s both beautiful and durable.
- Quartz: The most popular choice — durable, low-maintenance, and never needs sealing.
- Granite: A natural stone with unique veining; requires periodic sealing.
- Butcher block: Warm and inviting, ideal for a prep-focused island.
- Marble: Luxurious for baking stations, but softer and more stain-prone.
- Waterfall edge: A dramatic look where the stone flows down the sides to the floor.
Many homeowners choose a contrasting countertop or cabinet color for the island to make it a focal point.
For a full comparison, read our ultimate guide to the best countertops for your kitchen.

Kitchen Island Lighting
Lighting makes or breaks an island. The right fixtures add both function and personality.
Pendant lights are the classic choice. As a rule of thumb, hang two or three pendants over a standard island, spaced evenly and about 30 to 36 inches above the countertop.
Here are a few lighting tips:
- Match the number of pendants to the island length — two for shorter islands, three for longer ones.
- Coordinate finishes with your faucet and cabinet hardware.
- Add dimmers to shift from task lighting to ambient mood lighting.
- Layer in recessed lights overhead for even, shadow-free prep light.
Lighting is where you can inject real style, so don’t treat it as an afterthought.
Kitchen Island Ideas for Small Kitchens
Short on space? You can still enjoy the benefits of an island with the right approach.
- Rolling cart island: A mobile option you can move or tuck away as needed.
- Slim island: A narrower 24-inch-deep island fits where a full one won’t.
- Peninsula: Attached to existing cabinets on one end, a peninsula offers island benefits without the full footprint.
- Drop-leaf island: A folding surface expands when you need it and folds down when you don’t.
Even in a compact Northern Virginia townhome kitchen, a smart island solution can add valuable prep space and seating.
How Much Does a Kitchen Island Cost?
Island costs vary widely based on size, materials, and features.
- Basic prefab island: $500 – $3,000
- Mid-range custom island: $3,000 – $7,000
- High-end custom island: $7,000 – $20,000+
Adding plumbing for a sink, electrical for outlets, or gas for a cooktop increases the cost. Premium countertops and custom cabinetry also push the price up.
An island is usually one line item within a larger kitchen project. To understand how it fits your overall budget, see our 2026 guide to kitchen remodel costs in Northern Virginia.
Island vs. Peninsula: Which Is Right for You?
If a full island won’t fit, a peninsula may be the answer. Understanding the difference helps you choose.
An island is freestanding, with walkways on all four sides. A peninsula connects to existing cabinetry or a wall on one end, leaving three accessible sides.
Islands offer more flexibility and a true 360-degree workflow. Peninsulas are ideal for smaller or narrower kitchens where clearance is tight.
If you’re weighing your overall kitchen footprint, our comparison of open-concept versus traditional kitchen layouts is a helpful next read.
Common Kitchen Island Mistakes to Avoid
A few avoidable mistakes can undermine even a beautiful island. Watch out for these.
- Too little clearance: Cramped walkways make the whole kitchen feel tight and hard to use.
- Oversizing the island: An island that’s too big wastes space and leaves an unreachable center.
- Forgetting outlets: Building codes require outlets on most islands, and they’re genuinely useful.
- Skipping ventilation: A cooktop island needs proper venting to handle smoke and steam.
- Poor seating planning: Too few inches per stool leaves guests cramped and uncomfortable.
- Mismatched proportions: The island should suit the scale of the room, not overwhelm it.
Working with an experienced designer helps you sidestep these issues before construction begins.
Design Tips to Make Your Island Stand Out
Once the function is right, a few design choices can elevate your island from practical to stunning.
- Use a contrasting color for the island cabinets to create a focal point.
- Add decorative legs or corbels for a furniture-like, custom feel.
- Choose statement pendant lighting that reflects your style.
- Incorporate open shelving or glass-front cabinets for display.
- Extend the countertop into a waterfall edge for a modern, high-end look.
These details are what turn a standard island into the centerpiece of your kitchen.
Matching Your Island to Your Kitchen Style
Your island should feel like a natural part of your kitchen, not an add-on. The right details depend on your overall design style.
Modern and Contemporary
Clean lines, flat-panel cabinets, and a waterfall quartz edge define the modern island. Keep hardware minimal and lighting sculptural. A bold, single-color island against neutral cabinetry creates striking contrast.
Traditional
Raised-panel cabinets, decorative corbels, and furniture-style legs give a traditional island warmth and character. Natural granite and classic pendant lighting complete the look.
Transitional
The most popular style in Northern Virginia homes, transitional design blends traditional comfort with modern simplicity. Shaker cabinets, quartz tops, and understated hardware strike the balance beautifully.
Farmhouse
A farmhouse island leans on natural wood, apron-front sinks, and open shelving. Butcher block tops and vintage-inspired pendants reinforce the cozy, lived-in feel.
Whatever your style, consistency is key. The island’s finishes should echo the rest of your kitchen while still standing out as a focal point.
Kitchen Island Trends for 2026
Island design keeps evolving. Here are the trends our clients are asking for most this year.
- Statement stone: Bold, heavily veined quartz and quartzite used as a centerpiece.
- Waterfall edges: Continuing strong for a sleek, high-end finish.
- Contrasting islands: Deep blues, greens, and warm woods set against lighter cabinetry.
- Hidden technology: Built-in charging stations, pop-up outlets, and integrated appliances.
- Furniture-style islands: Pieces designed to look like freestanding furniture, with legs and detailed trim.
- Multi-level surfaces: Combining prep height and bar height in a single island.
Trends are a great source of inspiration, but the best island is one built around your daily routine, not just what’s popular.
Multi-Functional Island Features Worth Considering
The modern island works harder than ever. If your budget allows, these features add real everyday value.
- Built-in beverage fridge for drinks and entertaining
- Microwave or warming drawer integrated into the base
- A prep sink separate from the main cleanup sink
- Pull-out spice and utensil organizers right where you cook
- A dedicated baking center with a lower counter section
- Appliance garage to hide small appliances and reduce clutter
Choose the features that match how you cook and gather. There’s no need to include everything — focus on what you’ll use every day.
Planning Your Island Project Step by Step
A successful island starts with a clear plan. Here’s the process we follow with homeowners.
- Assess your space: Measure the kitchen and confirm you have room for proper clearances.
- Define the purpose: Decide whether the island is mainly for prep, seating, cooking, or all three.
- Set a budget: Account for cabinetry, countertops, and any plumbing or electrical work.
- Choose materials: Select countertops, cabinet finishes, and hardware that fit your style.
- Plan utilities: Add outlets, and run plumbing or gas only if your design calls for it.
- Design the lighting: Select pendants and layer in recessed lights with dimmers.
- Work with a pro: An experienced designer ensures the island is code-compliant and built to last.
Taking the time to plan up front saves money and prevents costly changes mid-project.
Frequently Asked Questions
How much clearance do I need around a kitchen island? Plan for at least 36 to 42 inches of walkway on all sides, and 42 to 48 inches on the main work sides if two people cook at once.
What is the standard size of a kitchen island? A common island is about 3 feet deep by 6 to 7 feet long, at a standard 36-inch height. The minimum practical size is roughly 40 by 24 inches.
How many people can sit at a kitchen island? Allow 24 inches per stool. A 6-foot island seats two to three people, while an 8-foot island can seat four.
Can I put a sink or cooktop in my island? Yes, but it adds cost because plumbing, electrical, or gas lines and ventilation must be run to the island.
Do I need an island, or is a peninsula better? If your kitchen is narrow or you lack 36-plus inches of clearance on all sides, a peninsula is often the smarter choice.
How much does a kitchen island cost? Expect $500 to $3,000 for a prefab unit, $3,000 to $7,000 for mid-range custom, and $7,000 or more for high-end custom islands with premium features.
Caring for Your Kitchen Island
A little maintenance keeps your island looking new for years. The right routine depends on your countertop material.
- Quartz: Wipe with mild soap and water; no sealing required.
- Granite: Clean with a stone-safe cleaner and reseal once or twice a year.
- Butcher block: Oil regularly and avoid standing water to prevent warping.
- Marble: Blot spills immediately and use cutting boards to prevent etching.
Protect the surface with trivets and cutting boards, and address spills quickly. With basic care, a quality island will stay beautiful and functional through years of daily use.
Conclusion: Build the Island Your Kitchen Deserves
A kitchen island is more than a counter in the middle of the room. It’s the hub where your family gathers and your kitchen comes to life.
Get the fundamentals right — clearance, size, seating, storage, and lighting — and the rest is about making it your own.
Plan around how you actually live, prioritize the features that matter most, and don’t be afraid to make the island a true focal point.
When you’re ready to design the perfect island for your Northern Virginia home, the team at EA Home Design is here to help you plan, build, and love the result for years to come.